How to Pack your Pack

Once you have worked out what gear you need and exactly how much you can start packing your backpack - simple...Well not exaclty, there are a lot of things to consider. Primarily you focus is going to be Weight Distribution, Balance & Convenience - and pretty much in that order. What this means is that you pack needs to have its weight loaded in the correct places, balanced left to right and that everything that is needed on a regular basis is conveniently located.
Packing your Backpack
The best way to plan your backpack load is to lay out all of your gear on the floor or a table to organise it. This is a great way to make sure you have everything you need and arrange it by weight . There is nothing worse then realising you haven't accounted for something and trying to jam it in at the last minute
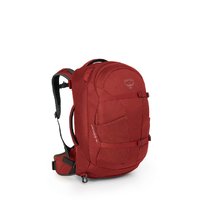
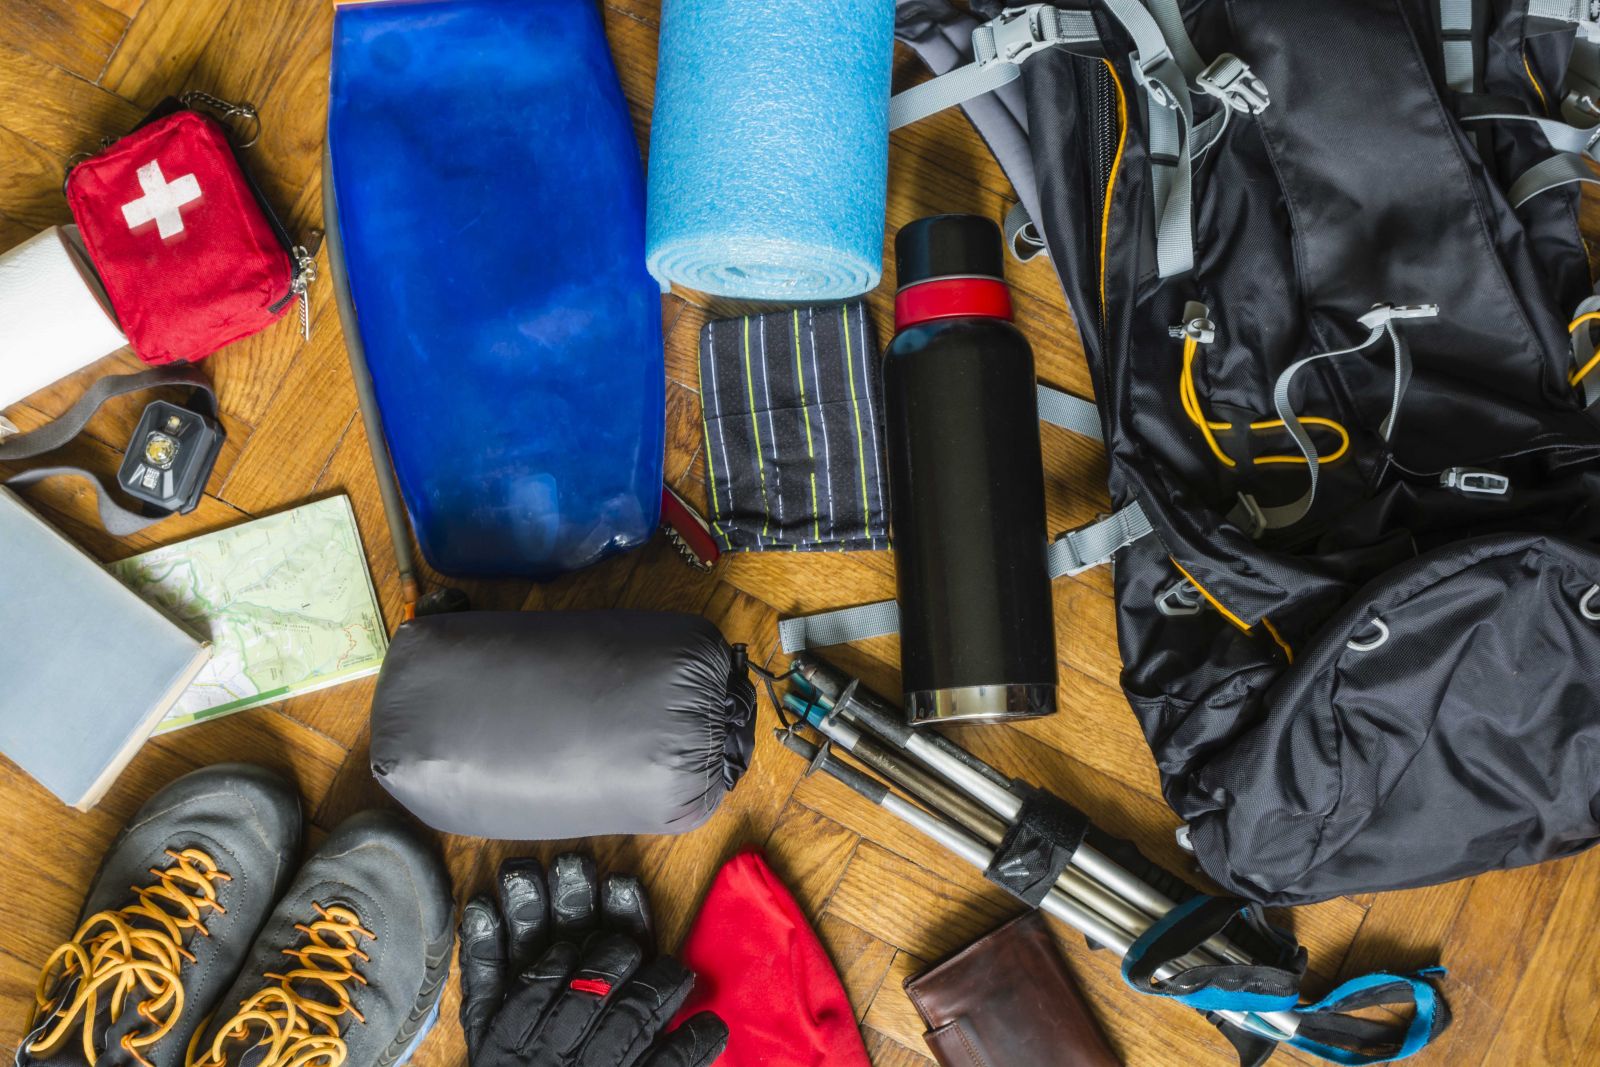 It’s then a good idea is to bundle similar small items, such as eating utensils, toiletries, 1st Aid items, clothing, sleeping gear, etc and pack them in zip lock or stuff bags. Packing Cubes can also come in handy for this type of thing. Osprey have a fantastic range of pack accessories.
I pack the things I am likely to need during the day in the zipper compartment on the top of my pack i.e. head-torch, mosquito repellent, snacks, spare torch batteries and etc.
I pack my cup, eating utensils in the side compartments or hang them on the outside if you are short on space inside your pack, these aren’t going to matter if they get wet. I also hang my sandals on the outside of my pack for easy access for creek crossings.
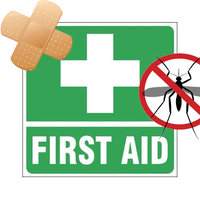
When loading my pack I obviously place the gear I do not need during the day at the bottom of the pack this means my sleeping bag, sleeping gear and extra clothing (which is packed in a waterproof dry bag);. I then pack my 1st Aid Kit, rain jacket, plastic plates and toiletries at the top of the pack for easy access during the day. The last thing you need to do is have to unpack half of your gear to find the toilet paper – especially if it’s raining!
 As a guide you should place your items so that 80 percent of the weight is sitting on your hips (downward force) this doesn’t necessarily mean that you put the heaviest items at the bottom. Place the heaviest of your gear – hydration bladders and other heavy items at the closest point to your spine (against the back of the pack). This is done for 2 reasons, centre of gravity and also it helps to minimise the outward pull of your pack which in turn gives you more stability. For an example, when you were at school with your back pack on and you go up a stet of stairs and all your books fall toward the outside zipper of the bag and you feel like it is dragging you backward, it’s the same sort of principal. When the heavy weight is located closer to your body (and compressed) there is less outward pull and more of a downward balance. So remember, not too high and not too low. To high and it will feel top heavy, and too low will cause a huge downward pull and feel saggy.
I know, I know... by now you are thinking "this packing thing is waaaay too hard", but I promise with a bit of practice it will become second nature.
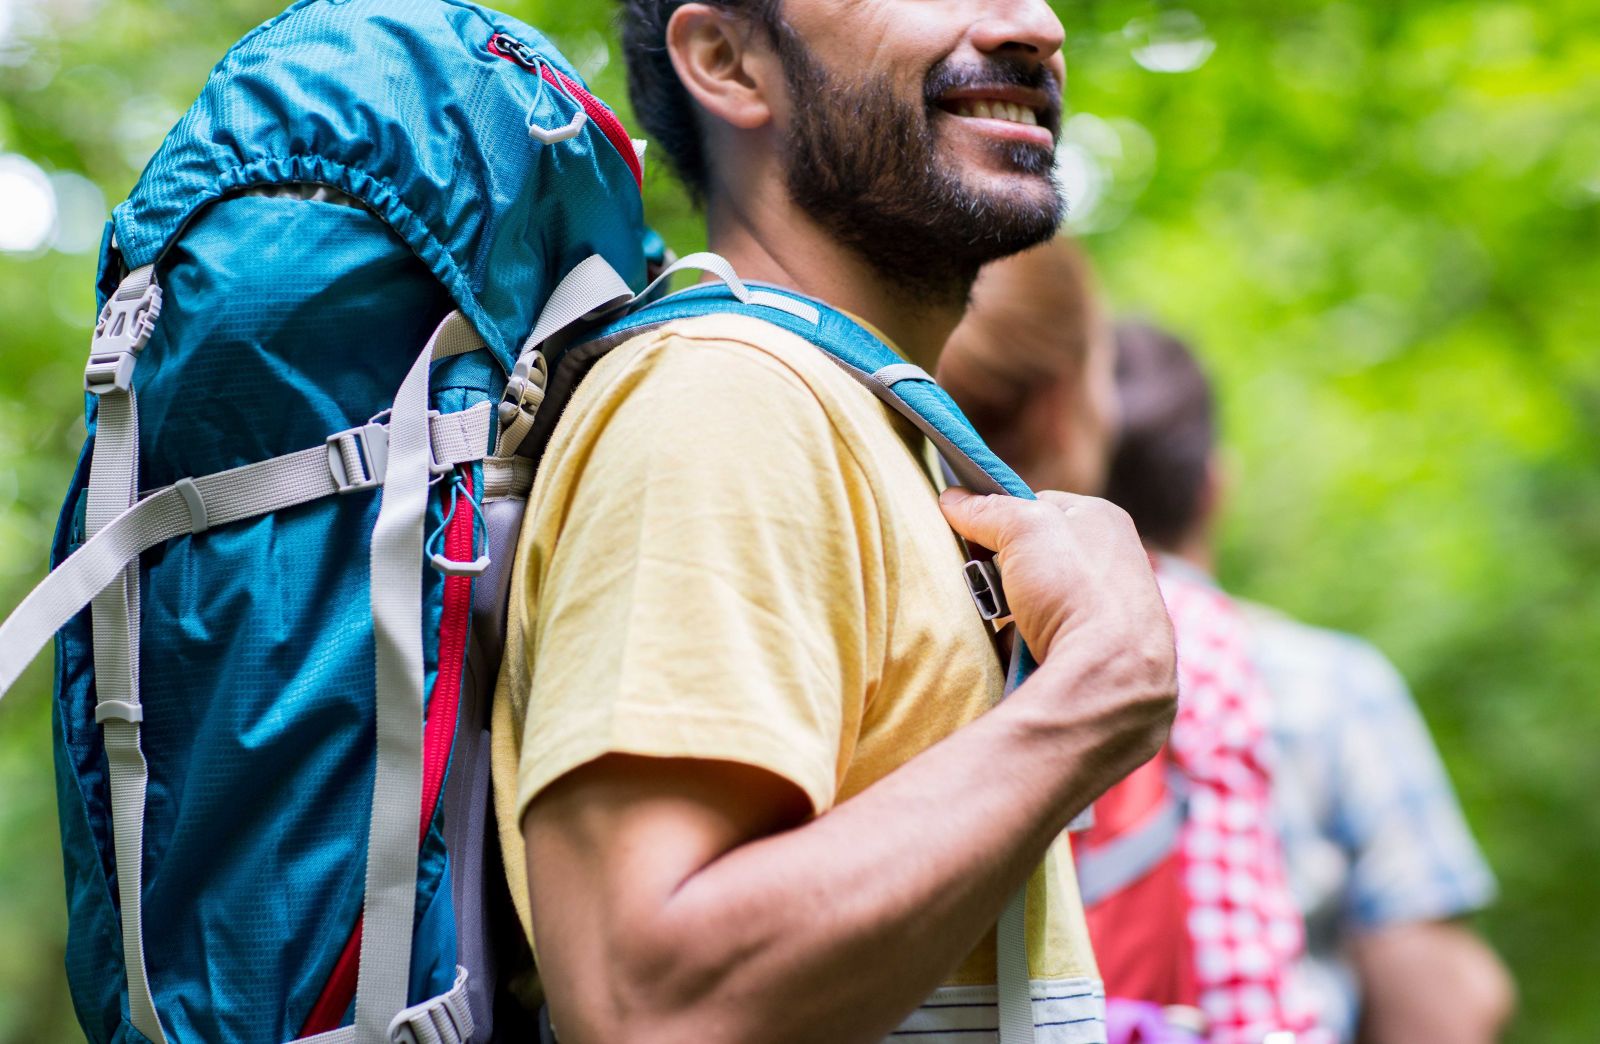
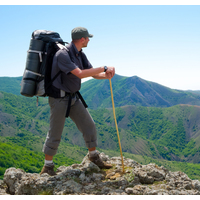
You want your pack to feel comfortable, stable and responsive when you move. You don’t want it pulling on your back and neck, and you don’t want it bouncing all over the place. Experimentation is the best way to figure out what works and it might take you a couple of goes, the thing is…don’t pack it, put it on and think it’s fine. You will need to walk around with it, across different terrain upstairs and perhaps even for a couple of hours to really see how it performs.. Over time when you change or upgrade your pack and gear, your packing will evolve too.
If you have a foam sleeping mat you can strap this to the outside of your backpack (this too will dry well if it gets wet, just make sure if you backpack has a built in rain cover that it will actually go all the way over you don’t want to get stuck in the rain and can’t protect the rest of your gear because your rain cover won’t fit, if your pack doesn’t have an integrated rain cover, Osprey have some that are sold separately and they come in 3 sizes, so you are sure to find one that will fit.
After your bag is packed, tighten all compression straps to limit load-shifting while trekking, again make sure you experiment and know how to compress on the fly too if your load shifts inside your bag.
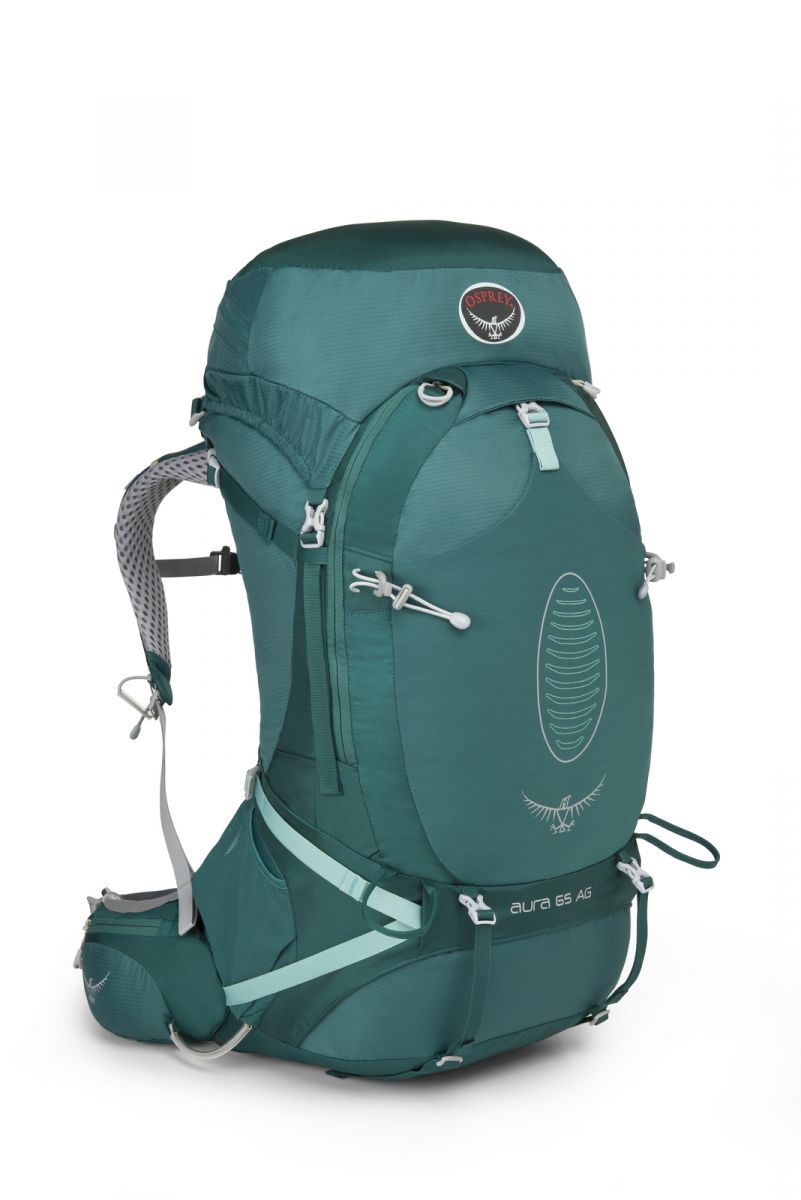 Most backpacks feature a top-loading opening to reach the main compartment. Some packs also offer a zippered front panel that folds open, exposing the full interior of the pack, or a side zipper, which also makes it easier to reach items deeper in your pack. The Osprey Aether and Ariel and the Atmos and Aura Series have these features. This also makes packing your bag easier. However, most of our gear will be loaded into a dry bag and then put in the hike pack. Your pack might also feature a sleeping bag compartment, a zippered stash spot near the bottom of the bag. It’s a useful feature if you don’t want to use a stuff sack for your sleeping bag. Alternately, this space can hold other gear that you’d like to reach easily, however I wouldn’t recommend putting anything in there that is easily broken, as if you get a bit lacksey daisy and drop your pack you might break whatever you put inside.
Hydration reservoir: Most packs are now hydration compatible and include a hydration reservoir clips and sleeve. This is a slot that holds a reservoir close to your back and parallel to your spine. It's easier to insert the reservoir while the pack is still mostly empty. But check your reservoir for leaks (you don’t want a leaky bladder) and that it has been wiped down so it is relatively dry, before you put it in.
Packing the Top and Periphery of your Backpack
Top lid: Many packs offer a zippered top lid. You can stash frequently used items and keep them within easy reach. This might include your map, compass, GPS, sunscreen, sunglasses, headlamp, bug spray, first-aid kit, snacks, rain gear and toiletries. You can also place these in external pockets, if you have them. Some packs even offer small pockets on the hip belt which are super handy for your compass and GPS.
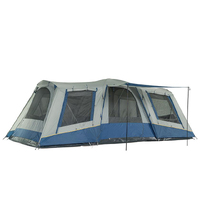
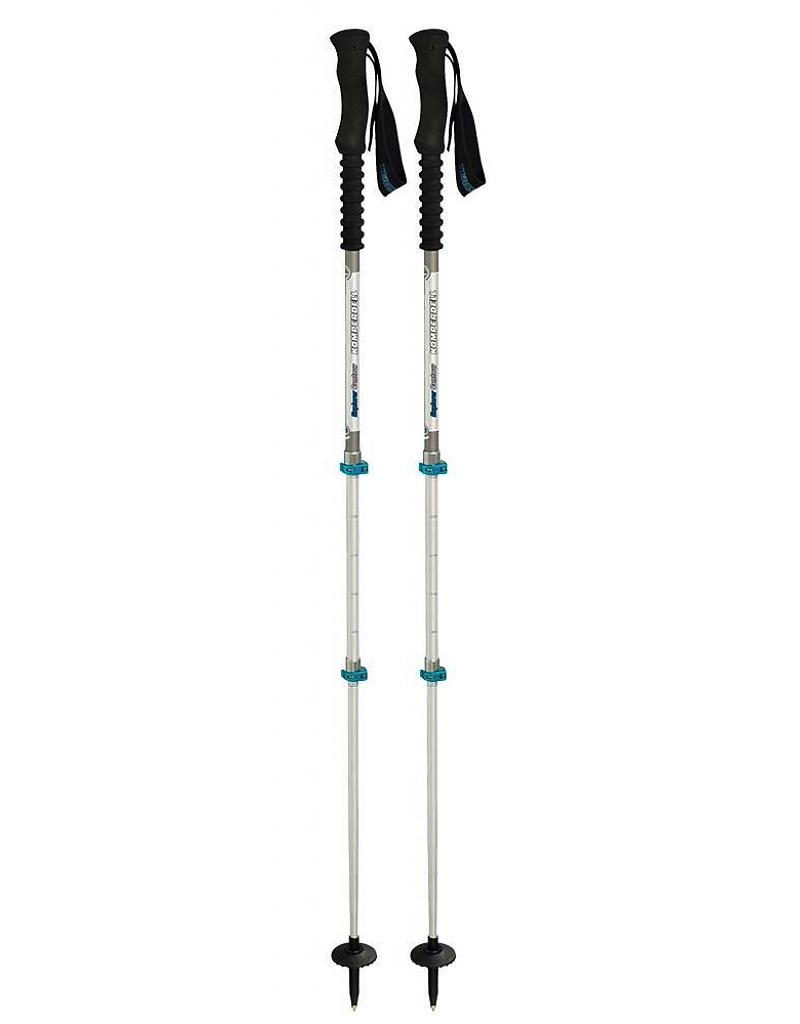 Tent & Trekking poles: If your pack offers elasticized side pockets, place the poles down one side of the pack, behind one or more compression straps, with one end of the poles in the pocket. Most hiking tents come in a waterproof dry bag of their own so there’s no need to put them inside your bag and if your rain cover has enough room it will cover the tent anyway, and you don’t need to worry about your trekking poles getting wet, lets’ face it they will be stuck in mud, sand and dragged over rocks so a little water is the least of their worries.
Important Note: Minimize the amount of gear you attach to your pack's exterior. External items can potentially get snagged on brush in areas of dense vegetation. Too much external gear could also jeopardize your stability, with excess swaying.
Other Tips for Packing a Backpack
Pack ‘em and stack ‘em - Fill up all empty spaces. For example, put utensils, a cup or a small item of clothing inside your cooking pots. Treat it like a nesting doll. Instead of carrying an empty pot, what can you put in it to give you more space or even to stop it from rattling around? These days you can also get collapsible plates and cups.
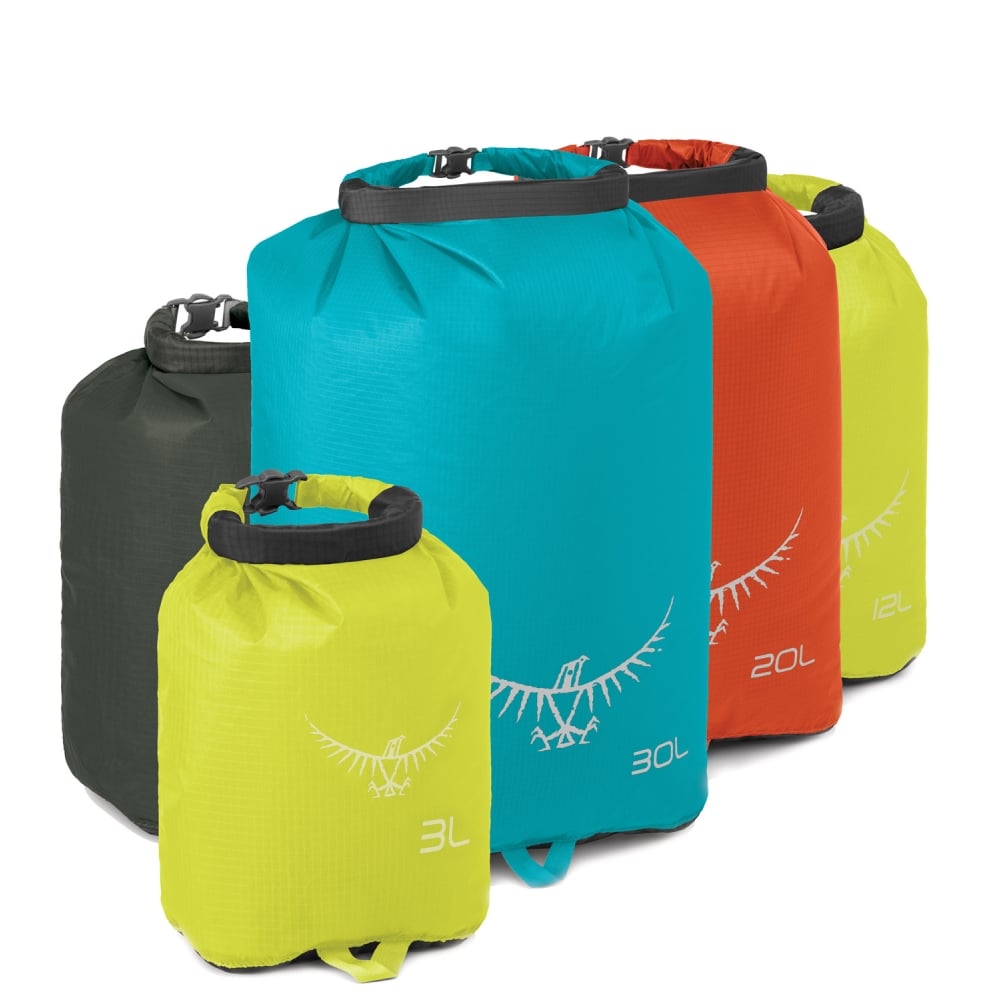 Stuff sacks: Some may prefer the low-chaos/easy-organization of stuff sacks, while others simply prefer to pack soft items loosely in the pack to use up all available room. Experiment with your own gear and decide which method most appeals to you. Remember you need to be able to get to, and use the gear. Personally I recommend stuff sacks and dry sacks, and you can get them here.
Share the weight of large communal items (e.g., tent) with others in your group. You carry the main body, for example, and your friend can carry the poles and rainfly, as they say… many hands make light work.
Compression straps: Tighten all compression straps to limit load-shifting. This is important. Again the smaller and more compact your bag the better your centre of gravity. It will stop things from sliding around inside your pack and then creating the need to stop and re-pack everything. Compression straps can be found at most luggage shops or online.
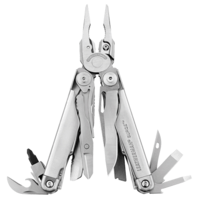
Repair items: Wrap strips of duct tape (we call it 100 mile an hour tape as it will stick to anything and hold anything together) a quick duct tape fix could keep you going it will come in handy if your boots take a beating and you need to tape them together. Take along a few safety pins in case a zipper fails.
So basic points to remember are:
- Distribute weight evenly between left and right sides.
- Place frequently used items in an easy-to-access place, such as external pockets.
- When hiking on easy terrain, pack heavy items a little higher for better posture.
- On harder terrain, put heavy items lower down for better balance.
- Stuff sacks allow you to quickly pack and unpack your gear and find what you need. The highly organized put each category of items (first aid, kitchen, etc.) in differently coloured bags. Try not to stuff the sacks full, as a little play makes them easier to squeeze into gaps.
- Use your pots as hard metal stuff sacks to protect delicate items.
- Use your compression straps to bring the load closer to your body and keep everything in place.
- Take a repair kit


This category is empty! Please try another category or use our search function to find what you are looking for. If you require further assistance please contact us.